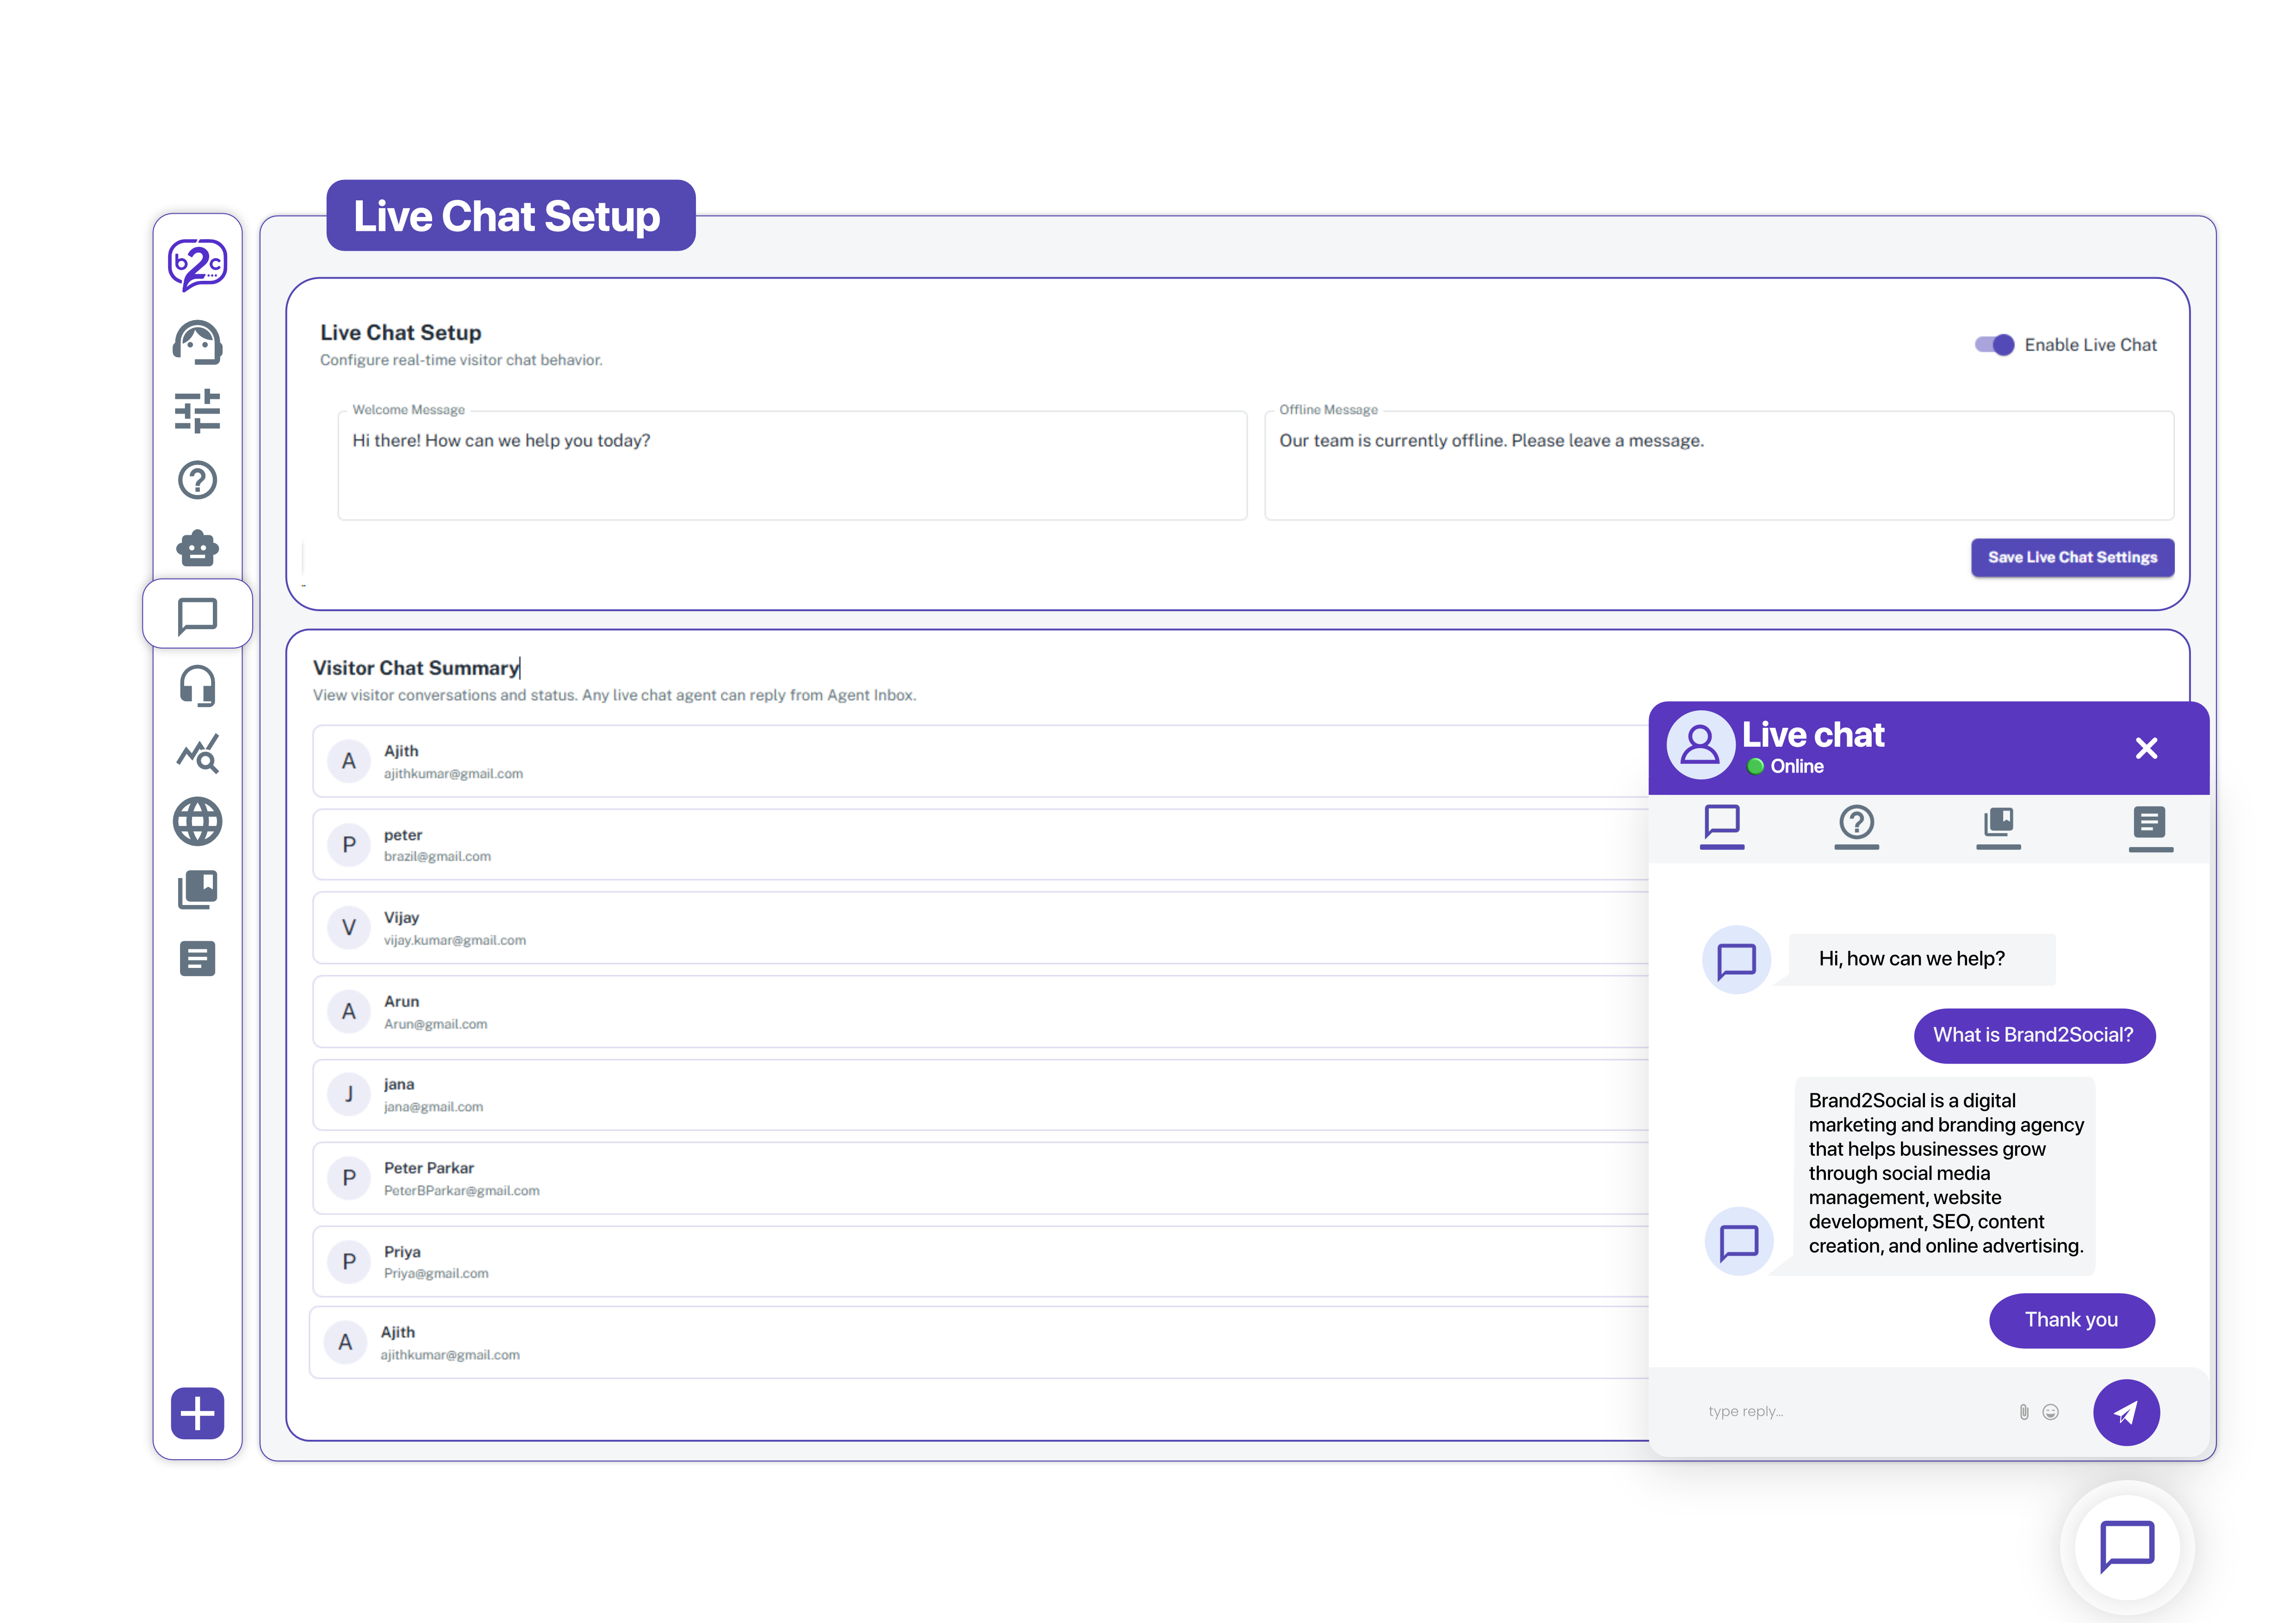
The Brand2Chat Live Chat Setup allows you to enable real-time conversations between your website visitors and your support agents. Once live chat is active, visitors who click the chat widget on your website are immediately connected to an available agent. You can configure the messages visitors see when they arrive and when your team is offline, and set a timeout so unanswered chats automatically convert into support tickets. The related Ticket Setup page lets you connect your email provider via SMTP so those tickets and customer replies flow into Brand2Chat.
Part 1: Live Chat Setup
How to Access Live Chat Setup
1. Log in to your Brand2Chat account.
2. Click on Live Chat Setup in the left-side navigation menu, under Setup.
3. The Live Chat Setup page will load with your configuration fields.
What You Can Configure
Welcome Message
The first message a visitor sees when they open the chat widget and live chat is active. Make it warm and inviting (for example, “Hi there! How can we help you today?”).
Agent Response Timeout (minutes)
The time limit (for example, 15 minutes) before an unhandled chat is marked as not responded. If no agent replies within this window, the chat is flagged and agents are notified and, once SMTP is configured under Ticket Setup, it can be converted into a ticket.
Offline Message
The message displayed to visitors when your support team is offline for example, outside of working hours or when no agents are online (for example, “Our team is currently offline. Please leave a message.”).
How to Set Up Live Chat
1. Go to Live Chat Setup from the left sidebar.
2. Enter your Welcome message this is what visitors read when they open the chat.
3. Set your Agent response timeout (minutes) the time before an unanswered chat is marked as not responded.
4. Enter your Offline message visitors see this when no agents are available.
5. Click Save Settings at the bottom right to apply your changes.
6. Your live chat is now active. Visitors on your website can start chatting with your agents immediately.
ℹ️ Note: Agents must be online and have the Agent Inbox open to receive and respond to live chat conversations. If no agents are available, visitors will see your Offline Message.
Managing Real-Time Messages (Agent Inbox)
Once live chat is enabled, all incoming messages sent by website visitors appear in your Agent Inbox, under the Live Chat menu. Support agents can monitor active, open, mine, or closed conversations and chat with visitors in real time.
Part 2: Ticket Setup
Ticket Setup connects a support mailbox to Brand2Chat over SMTP so that timed-out or offline live chats can automatically become tickets, and so customer email replies appear back inside Brand2Chat. It’s organized into three tabs: Sending mail, Receiving mail, and Ticket created email template.
⚠️ Note: Until SMTP is configured and verified, automatic ticket creation is paused, and timed-out live chats will simply remain open.
How to Access Ticket Setup
1. Log in to your Brand2Chat account.
2. Click on Ticket Setup in the left-side navigation menu, under Setup.
3. The Ticket Setup page will load on the Sending mail tab by default.
Sending Mail Tab: SMTP Configuration
This tab connects the mailbox Brand2Chat will send ticket replies from.
1. Under SMTP configuration, fill in:
- Sender name: The display name recipients will see (for example, “Brand2Chat support”).
- Brand support email: Your support email address for example,
yourname@gmail.com. - Test email recipient: An email address where you can receive a test message a test message must be delivered here before your settings can be saved.
- SMTP host: For Gmail, enter
smtp.gmail.com. - SMTP port: For Gmail, enter
587. - Security: Select from the dropdown
STARTTLS,TLS, ornone(Gmail usesSTARTTLS). - SMTP password: Your mailbox’s SMTP or app password (see below for generating one with Gmail). 2. Click Test And Save Provider. Brand2Chat will send a real test email to your test recipient and save your SMTP settings once it’s delivered successfully.
ℹ️ Crucial rule: The address entered in Brand support email must be the exact same mailbox where you generate your app password and set up forwarding. Using two different addresses will cause the integration to fail.
If you ever need to start over, use the Delete SMTP Configuration link to remove your saved settings.
Generating a Gmail App Password
If you’re sending from a Gmail address, Google requires a 16-character App Password instead of your normal password.
1. You must have 2-Step Verification turned ON in your Google Account. If it’s off, Google won’t show the “App passwords” option.
2. Go to myaccount.google.com, or click your profile icon in Gmail and select Manage your Google Account.
3. In the search bar, search for App passwords and open it (you may need to re-enter your Google password to confirm your identity).
4. Under “To create a new app specific password,” type an app name (for example, “Brand2Chat”) and click Create.
5. Google will display a generated 16-character passcode. Copy it immediately you’ll paste it into the SMTP password field in Brand2Chat.
Receiving Mail Tab: Reply Forwarding
This tab gives you a unique Brand2Chat address to forward customer replies to, so they appear in your Tickets inbox.
1. Click the Receiving mail tab.
2. Under No-reply and reply forwarding, copy the Reply forwarding address shown using the copy icon.
3. In Gmail, go to Settings (gear icon) → See all settings → Forwarding and POP/IMAP tab.
4. Click Add a forwarding address, paste the Brand2Chat reply forwarding address, then click Next and Proceed. Gmail will send a verification code/link to that address.
5. Back in Brand2Chat, go to Tickets under the Live Chat menu and open the automated verification email from Google.
6. Click the Gmail confirmation/verification link inside it, and confirm in the tab that opens.
7. Back in Gmail on the Forwarding and POP/IMAP settings page, refresh it. Select Forward a copy of incoming mail to, choose your Brand2Chat address, and click Save Changes at the bottom.
8. Return to the Receiving mail tab in Brand2Chat. You’ll see a Not verified tag next to a Verify Forwarding button click it.
9. The tag will change to Pending. Verification can take 2–5 minutes keep the forwarding address active in your mail provider and wait. If the status doesn’t update automatically, refresh the page.
10. Once complete, the tag changes to a green Verified badge (a “Resend Verify” option is available if you ever need it again).
Ticket Created Email Template Tab
This tab controls the automated email sent to a visitor when their missed or timed-out live chat becomes a ticket.
1. Click the Ticket created email template tab.
2. Make sure the Send email to client toggle is switched ON if you want visitors notified automatically.
3. Edit the Template content box as needed. Use the Insert variable buttons to add dynamic values:
{{name}}automatically inserts the visitor’s name.{{ticketId}}automatically inserts the generated ticket ID. 4. Click Save Template at the bottom right to apply your changes.
Tips for Better Live Chat and Ticketing
- Set realistic welcome messages let visitors know your typical response time if agents are sometimes busy (for example, “We usually reply within a few minutes”).
- Update your offline message for time zones if you serve customers across different regions, mention your working hours so visitors know when to expect a reply.
- Keep agents notified make sure your agents have browser or desktop notifications enabled so they never miss an incoming chat.
- Use the same mailbox everywhere keep your Brand support email, app password, and forwarding address all tied to the same account to avoid delivery failures.
Troubleshooting
Visitors are seeing the offline message even though agents are online
- Confirm that at least one agent is actively logged in and has the Agent Inbox open. An agent must be present in the system to be considered “online.”
- Check the chat widget’s operating hours settings, if configured if the widget is set to offline hours, visitors will see the offline message regardless of agent availability.
The Save Settings button is not responding
- Ensure the Welcome Message and Offline Message fields are filled in before saving.
- Refresh the page and try again. If the issue persists, log out and log back into your Brand2Chat account.
Timed-out chats aren’t becoming tickets
- Go to Ticket Setup → Sending mail and confirm your SMTP settings have been tested and saved successfully automatic ticket creation stays paused until this is done.
- Check that your Receiving mail forwarding address shows a Verified badge; unverified forwarding can prevent replies from reaching Tickets.
My SMTP test email isn’t arriving, or the API/App Password is being rejected
- Double-check that Brand support email matches the exact mailbox you generated the app password for and set up forwarding on.
- Confirm 2-Step Verification is enabled on your Google account, and that you copied the 16-character app password correctly with no extra spaces.
- Try generating a new app password from your Google Account and re-entering it.
The Verify Forwarding status is stuck on Pending
- Verification can take 2–5 minutes keep the forwarding address active in Gmail and wait before retrying.
- If it doesn’t update automatically, refresh the Receiving mail tab.
- Use Resend Verify if the badge doesn’t move to Verified after several minutes.